Rewrite it in Wasm

When in high-school, I wrote a JavaScript program to render the Mandelbrot and Julia fractals. I will get into what this means in just a bit, but for now, let’s just say that visualising these fractals can be quite computationally intense.
I later rewrote my program in C, seeing as the JavaScript version was quite slow, and that I wanted to render high resolution images of the fractals. This gave me performance, but took away the ease of use. There is nothing more user friendly than opening a web browser, and going to a website - nothing to install, nothing to run, just open and go.
I could not find a way to match performance with portability.
But recently, I have been looking into a technology called Web Assembly or Wasm. More detail will come later, but Wasm essentially allows me to use my favourite programming language, C++, in the browser!
Let’s dive into how I made a decently performant, and decently portable web app using C++ and Wasm.
First : what are fractals ?
Defining the notion of fractal is complicated, and every dictionary seems to have a different definition. My favourite is the one in the Oxford English Dictionary :
Fractal : A mathematically conceived curve such that any small part of it, enlarged, has the same statistical character as the original.
But it’s still a bit unclear. My personal, simplistic, and subjective definition is a mathematical curve in which you can find complexity at any level, or the repetition of some pattern.

The Mandelbrot set
The Mandelbrot set is probably one of the most known fractals. It is a mathematical set defined in the complex plane, the points of which do not diverge under the recursive formula
z_{n+1} = z_n^2 + c
The complex plane
The complex plane is the plane composed of complex numbers.
These numbers have two parts - a real part, and an imaginary one. An example is 3+5i. Here, 3 is the real part, and 5 the imaginary part.
The imaginary part contains a special number i, which is defined by
i^2=-1
For our purposes, we only need to understand the squaring of a complex number, and complex addition. Let’s try with 3+5i :
\begin{align*} (3+5i)^2 &= (3+5i)\cdot(3+5i) \\ &= 3\cdot 3 + 2\cdot 3\cdot 5i + 5i\cdot 5i \\ &= 9 + 30i + 25i^2 \end{align*}
And since i^2=-1, we get
\begin{align*} 9 + 30i + 25i^2 &= 9 + 30i - 25 \\ &= -16 + 30i \end{align*}
Or more generally
(a+bi)^2 = \underbrace{a^2-b^2}_{\mathclap{\text{Real part}}} + \overbrace{2ab}^{\mathclap{\text{Imaginary part}}}i
Additionally, we can add two complex numbers as following
(a+bi)+(c+di)=\underbrace{a+c}_{\mathclap{\text{Real part}}} +\overbrace{(b+d)}^{\mathclap{\text{Imaginary part}}}i
The complex plane can be plotted with a real axis and an imaginary axis, so by squaring 3+5i, with coordinates (3, 5), we get -16+30i, with coordinates (-16, 30).
As you can imagine from the example, repeatedly squaring and adding complex numbers can yield some interesting results.
Recursion
The joke everyone makes when talking about recursion is that “You can’t understand recursion without first understanding recursion”. This joke actually illustrates recursion quite nicely. I will not explain recursion in detail, since it is not crucial to understanding this project.
To be incomplete and brief, recursion expresses an element in a sequence in terms of its predecessor. We can see this in the formula I cited above
\overbrace{z_{n+1}}^{\mathclap{\text{An element}}} =\underbrace{z_n^2}_{\mathclap{\text{Its predecessor (squared)}}} + c
Mathematically, the divergence of a point is determined at infinity, or z_\infty. Practically however, this means that we would never finish computing our fractal, since the calculations would never end. To avoid this, we can simply decide on a maximum number of times we run a point through the formula - a maximum number of iterations.
The formula : step by step
We choose a point in the complex plane, and call it c.
We set our first element, z_0 to be 0.
We compute the next element, using the formula - performing an iteration
z_1=z_0^2+c=0^2+c=c
We continue iterating
\begin{align*} z_2&=z_1^2+c=c^2+c \\ z_3&=z_2^2+c=c^4+2c^3+c^2+c \\ z_4&=z_3^2+c=\cdots \end{align*}
until either of the following
We reach our maximum number of iterations, in which case we consider the point as being part of the set.
The point gets too far away (the sequence diverges), and we consider it as not belonging to the set.
Enough maths
If we perform this algorithm on each point in the plane (every pixel in our image), and colour the points outside the set differently from the points inside the set, we get ourselves a visualisation of the Mandelbrot set.

We can even colour the points outside differently, depending on how quickly they escaped (diverged), using the number of iterations it took them to do so.
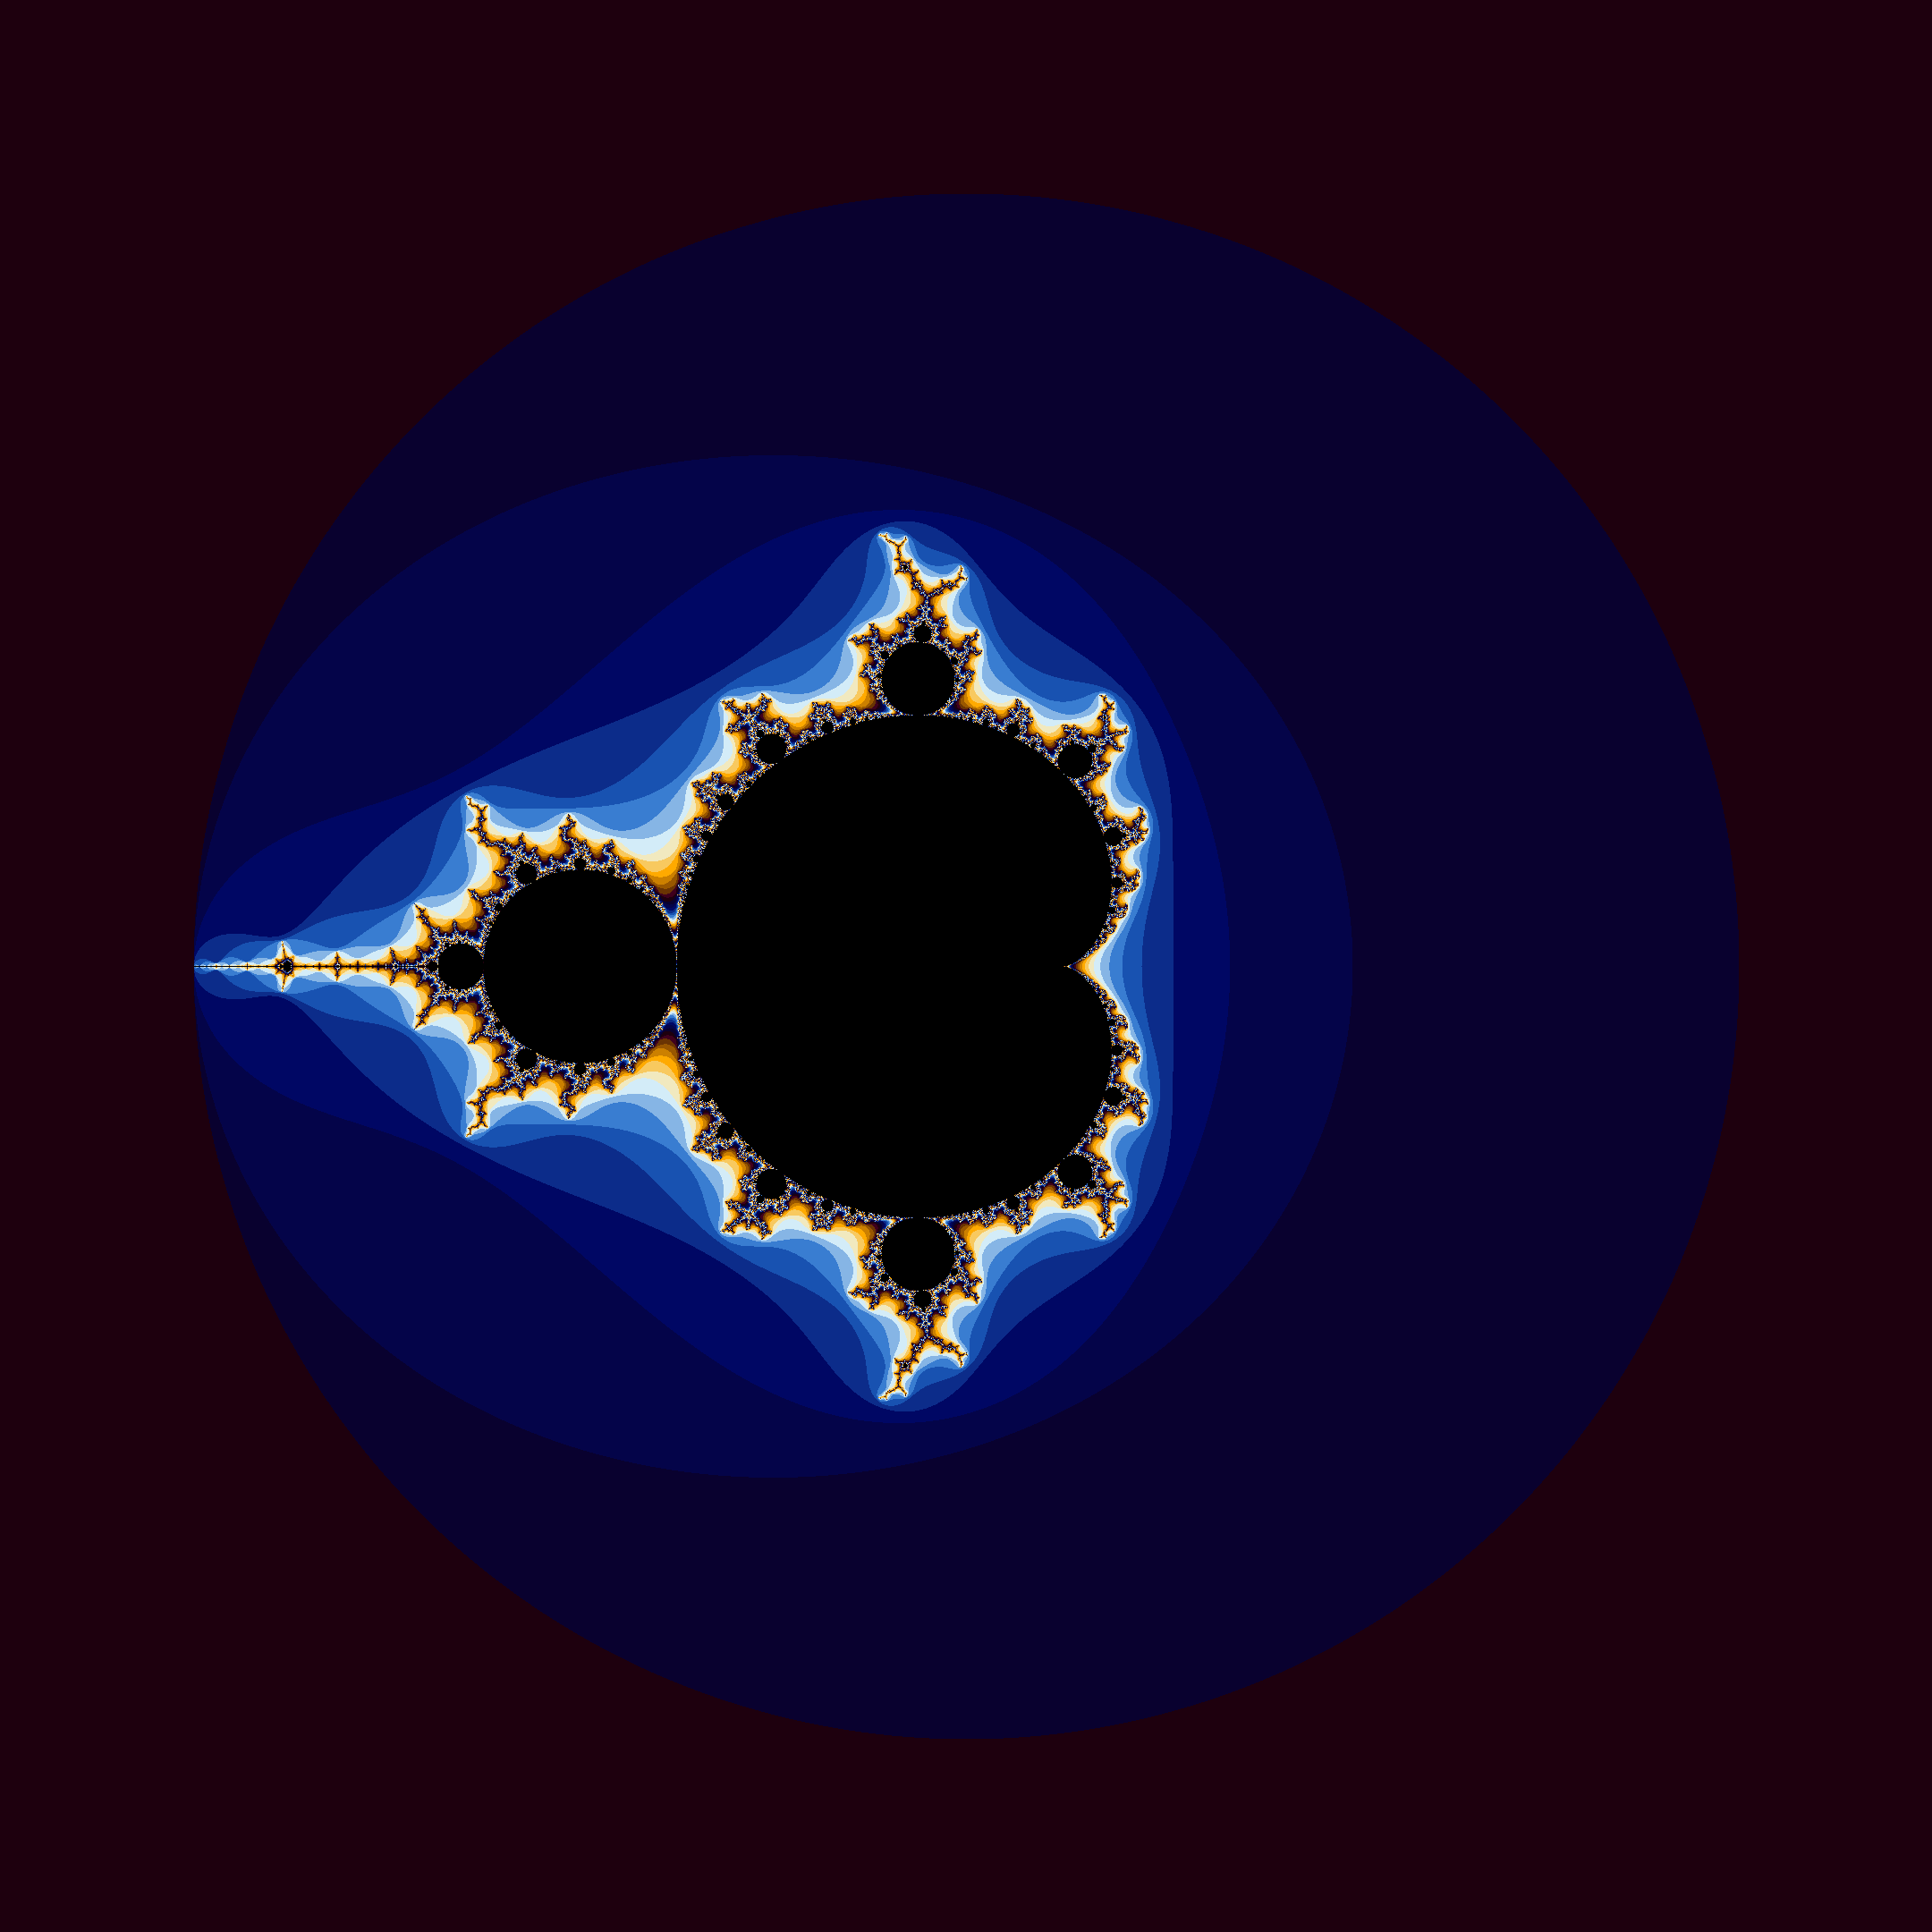
As a side note, the algorithm for computing Julia sets is the same as for the Mandelbrot set, apart from the initial step. Indeed, instead of letting c be our point (our pixel), we let z be our point. We can get different Julia sets, depending on the value chosen for c, which is the same for every point.

Now that the math essentials have been taken care of, let’s move to the tech!
Wasm - What, Why, and How ?
To quote the official website
WebAssembly (abbreviated Wasm) is a binary instruction format for a stack-based virtual machine. Wasm is designed as a portable compilation target for programming languages, enabling deployment on the web for client and server applications.
Let’s break down this definition into what we need to know :
An instruction set can be thought of as a dictionary of only the words needed to give out orders. These instructions are more or less directly fed to your computer, or in this case, a virtual machine.
A compilation target is the type of program or instruction set you want to compile your code to.
But what is compilation ?
When compiling your code, you essentially take the hopefully human-readable code you wrote, and make it machine-readable, or at least take it closer to being machine-readable.
Not all programming languages need to be compiled to be run. One of the most notable examples is JavaScript, which is Just In Time (JIT) compiled every time it is run.
Languages that can be compiled ahead of execution are always faster, since your code doesn’t have to be interpreted each time you run it. This circles back to my introduction, where I mentioned how my JavaScript program a bit too slow for me, and that my C program was faster. This is not surprising, since C is a compiled language, and is also blazingly fast.
Wasm provides a compilation target for our code, with an instruction set that can be run directly in a web browser. How cool ?!
Now that we know what Wasm is, and why we would want to use it, let’s see how we can actually compile our code.
Emscripten
To compile code, you need a compiler. Some classic
examples are gcc for C, g++ for
C++, and rustc for Rust.
Since we want to compile to Wasm, Emscripten is the tool for the job. To quote their website
Emscripten is a complete compiler toolchain to WebAssembly, using LLVM, with a special focus on speed, size, and the Web platform.
Emscripten will allow us to compile our C++ code to Wasm, so let’s try it out!
The project
If you want to follow along with this part, you can find the source code for the project here
As a side note, if you use clangd as your
LSP, configuring Emscripten can be a bit tricky, so here’s
what worked for me (add this to
clangd/config.yaml) :
CompileFlags:
    Add:
        [
            -DEMSCRIPTEN,
            -target,
            wasm32-unknown-emscripten,
            --sysroot=/path/to/emsdk/upstream/emscripten/cache/sysroot,
            -Xclang,
            -iwithsysroot/include/compat,
        ]
The project uses the SDL2 library to do the rendering. At some point I would like to experiment with using shaders in OpenGL, but SDL was easier to get working.
Code interaction
To create this web app, I needed a user interface. The only problem is that the UI would be in HTML and JavaScript - how do we get JavaScript to play with Wasm ?
Thankfully, we can export functions when compiling with Emscripten. Let’s look at an example of a compile command :
emcc main.cpp -s EXPORTED_FUNCTIONS="_main,_myFunction,_myOtherFunction" -o main.jsHere, emcc is the Emscripten compiler. The
EXPORTED_FUNCTIONS option tells the compiler to
make the listed functions available to call from JavaScript.
For example, if we had the following C++ function :
void myFunction(int say_hi) {
    for (int k = 0; k < say_hi; k++) {
        std::cout << "Hello, World!" << std::endl;
    }
}
We could then call it in JavaScript with
_myFunction(3);And it would write “Hello, World!” 3 times to the console.
In case your looking at the source code now and wondering why all of my exported functions are wrapped in
extern "C" {
// ...
}
This is because exported functions need to have a clear
name that can be called, and this extern block
prevents a process called name mangling. This
process would stop us from being able to call the
function.
Now that we can call C++ functions from JavaScript, let’s try the reverse : calling JavaScript functions from C++. This was necessary to this project, since the UI sometimes had to be updated with values from the C++ code.
Again, Emscripten has us covered with the
EM_ASM() function :
void updateUI() {
    EM_ASM(
        {
            document.getElementById("real_input").value = $0;
            document.getElementById("imag_input").value = $1;
            document.getElementById("zoom_input").value = $2;
        },
        point[0], point[1], zoom);
}
This is an actual snippet from the project, where the UI
is updated with some new values stored in point
and zoom.
Compilation target
The compile command above tells emcc to
compile main.cpp to main.js. This
will produce a script file which can be included in the
desired HTML file as one normally would
<script src="main.js"></script>Additionally, we can run a function when Wasm is ready to
go and, since we’re rendering images using
<canvas>, we need to define the one we’re
using
var Module = {
    onRuntimeInitialized: function () {
        // function to run when Wasm is ready
        document.getElementById("loadingDiv").remove();
    },
    canvas: (function () {
        var canvas = document.getElementById("canvas");
        return canvas;
    })(),
};
If you just want to try some things out, without the
hassle of managing all of this, you can set your compilation
target to main.html instead. Emscripten will
create a demo page automatically, which loads your project
and executes your main function.
Some tricky bits
WebGLRenderingContext
When compiling from C++ to Wasm, the SDL window we use to
render images gets “converted” to an HTML
<canvas> element with a
WebGLRenderingContext interface. I wanted
people to be able to save the renders they created as PNG
images.
Anyone who has worked with a <canvas>
with a CanvasRenderingContext2D probably knows
that you can just right-click to open up the context menu
and save the image. You can also use
canvas.toDataURL() to convert the image data,
and then let the user download it.
But WebGLRenderingContext renders frames
differently. This context has two image buffers, the one
that is currently being displayed, and the one that you can
write to. When it comes time to render a new frame, the
memory of one buffer gets swapped with that of the
other.
This is very efficient, but it means that if I tried to simply download the image from JavaScript, it would produce a black image. To fix this, we can actually call for the image download from C++ like so :
void saveAsPNG() {
    EM_ASM(const save = document.createElement("a");
           save.download = "mandel.png";
           save.href = document.getElementById("canvas").toDataURL();
           save.click(););
}
Inputs
I wanted part of the app to be controllable with the keyboard. SDL allows you to poll for keyboard events which you can then process as needed. After implementing my sweet keybindings, I quickly realised that I could no longer interact with my UI. This is because SDL steals all of the keyboard events, before anything else on the site has a chance to receive them.
What I ended up doing was implementing the keybindings in JavaScript, and disabling event polling in SDL, as you can see here
SDL_EventState(SDL_TEXTINPUT, SDL_DISABLE);
SDL_EventState(SDL_KEYDOWN, SDL_DISABLE);
SDL_EventState(SDL_KEYUP, SDL_DISABLE);
SDL_EventState(SDL_MOUSEMOTION, SDL_DISABLE);
SDL_EventState(SDL_MOUSEBUTTONUP, SDL_DISABLE);
SDL_EventState(SDL_MOUSEBUTTONDOWN, SDL_DISABLE);
It is possible to toggle these on and off depending on which element of the page is focused, but this seemed a bit too clunky.
The result
Let’s recap what we’ve covered so far :
- We can do the maths
- We can render the fractals
- We can communicate between C++ and JavaScript, and interface with the app
So what’s left ? Playing with it!
Click here and have fun exploring these fractals!
My personal favourite point to explore for both Julia and Mandelbrot sets is
-0.7746806106269039-0.1374168856037867i
which I discovered on this website.
Additions and sources
The Wikipedia articles on both the Mandelbrot set and the Julia set are great resources.
There is also a Wikipedia article dedicated to some of the various plotting algorithms that can be used to render the Mandelbrot set. In particular, I implemented the algorithm detailed in the “Continuous (smooth) coloring” section, which creates some fantastic smooth blurs in the renders
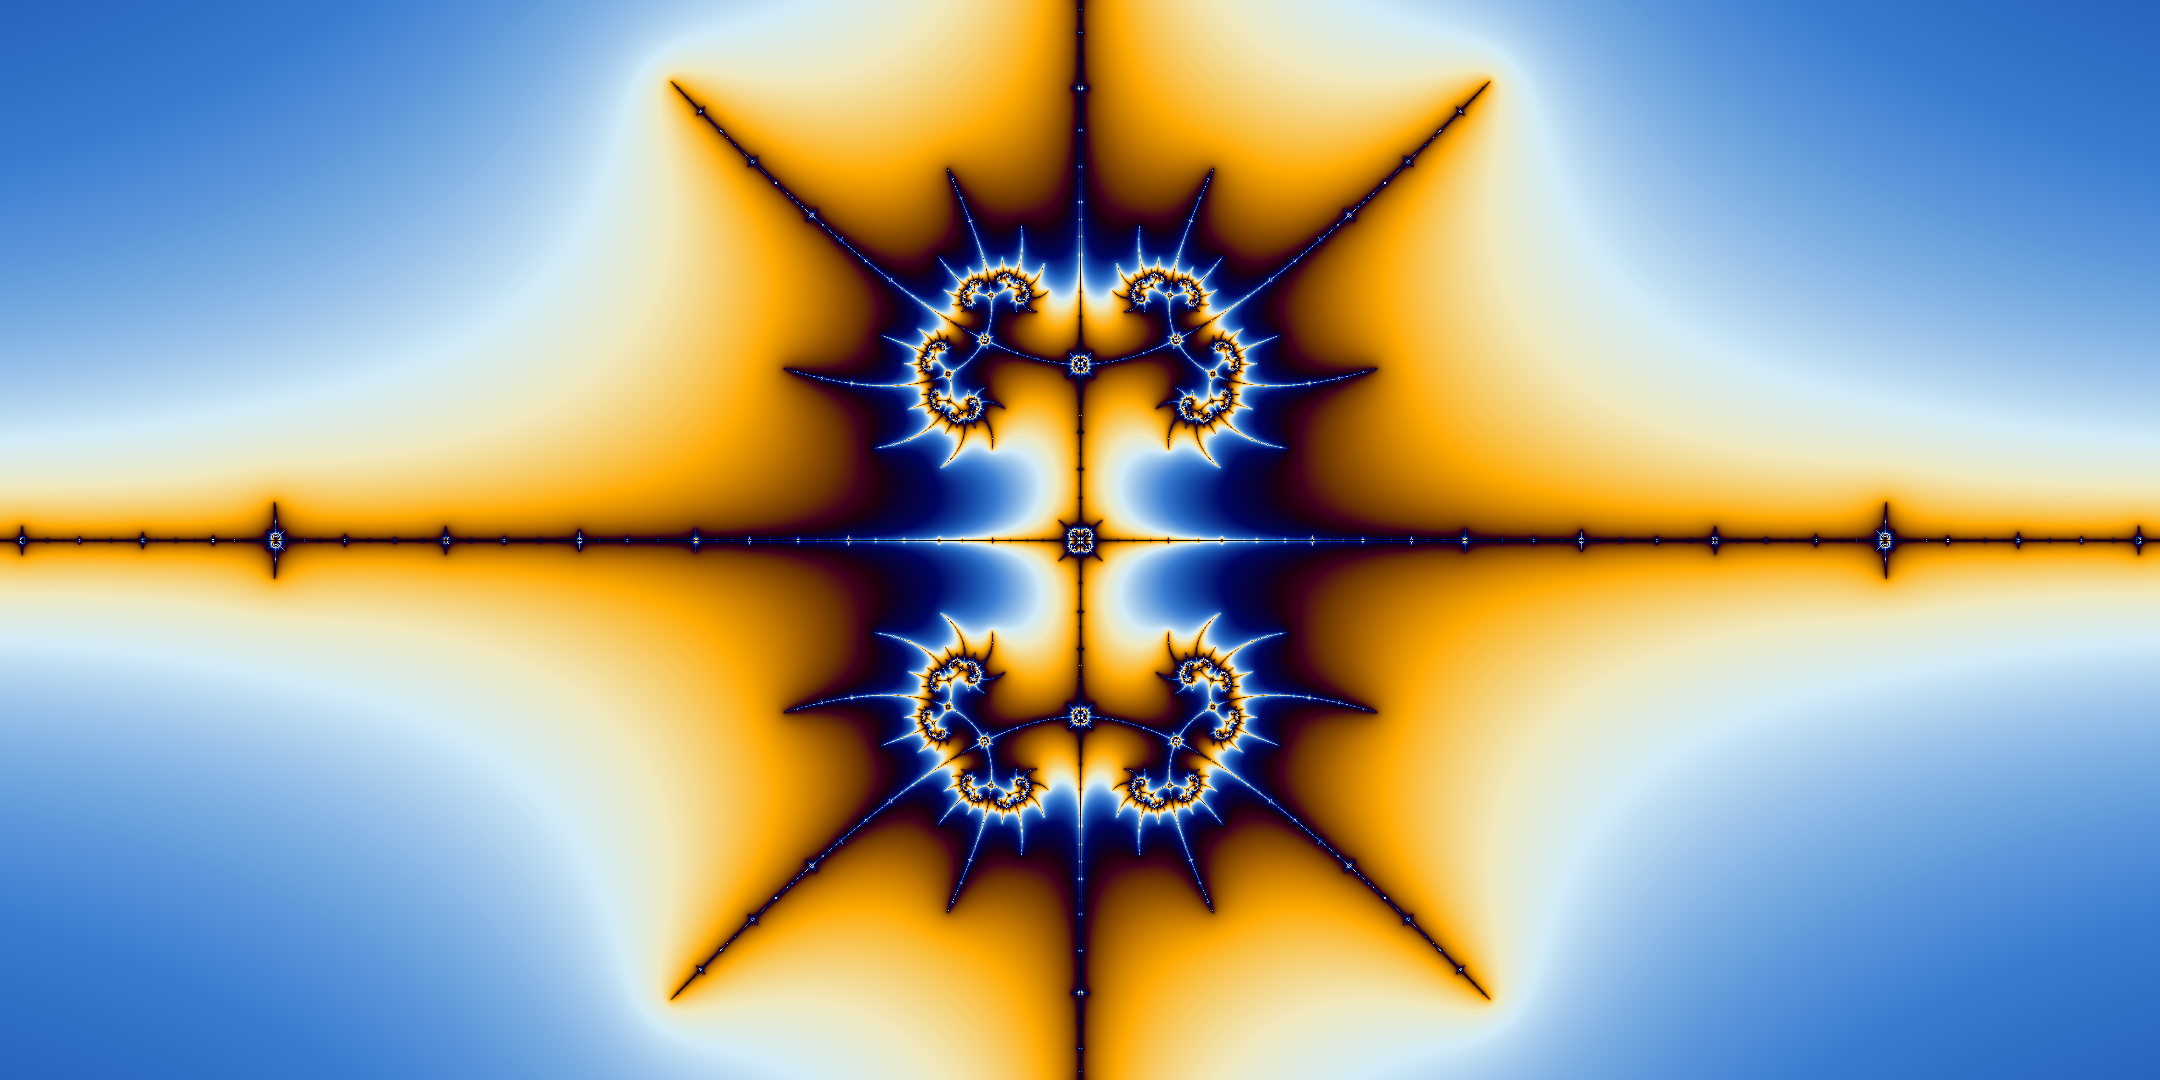
Some of the nicest points to visit in the Mandelbrot fractal can be found here. For the Julia fractals, I’d recommend the Wikipedia article mentioned above, and this site.